Outside the Box Inside
Welcome back!
Did you happen to catch the post from Sunday?
 If not you'll want to make sure you do - it's the 'book' part of this project and today is the 'page' part of this unique project.
 What we have here is a baby book ...in a box!
And let me tell you, it is adorable.
 The way that I went about setting up my pages, is by doing it as a file system. Instead of actual pages in an actual book the box is the book and these file folders are essentially the pages.
Another thing that makes this unique is that each page touches on a different part of the baby's story, beginning from his day of birth.
 Each file also dubs for one month of baby's first year so that mom has a place to collect all of the details. Being that this little boy came quite early (almost 2 months early), I was able to start the file folders with the month of January.
Did you happen to catch the post from Sunday?
And let me tell you, it is adorable.
Another thing that makes this unique is that each page touches on a different part of the baby's story, beginning from his day of birth.

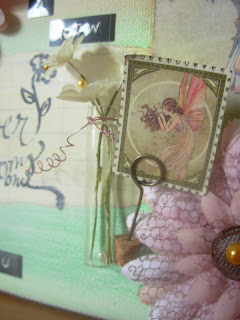
For each file the front cover is decorated in more of a traditional scrap book style, sticking with the color theme throughout to keep it consistent.

Then on the inside of each file you'll notice two spaces that are completely different. The top space is the same in every file, it has the extra large photo corner for mom to tuck several pictures and/or ephemera pieces in as well as a paper clipped ledger spot for whatever kinda of notes mom can think to add in about baby or his story. My thought was that she could add the date, time, and place for each photo that was tucked in that photo corner.


The journal cards I used are from
Ali Edwards @ Designer Digitals. I did alter them just a bit in order to get the prompt in the way that I wanted and I was able to do that through Photoshop Elements. This 'hybrid' format where I mix tradition scrap booking with digital scrap booking is really kinda cool and if you're looking for a way into digital but don't know where to start, I suggest checking out Ali's site.
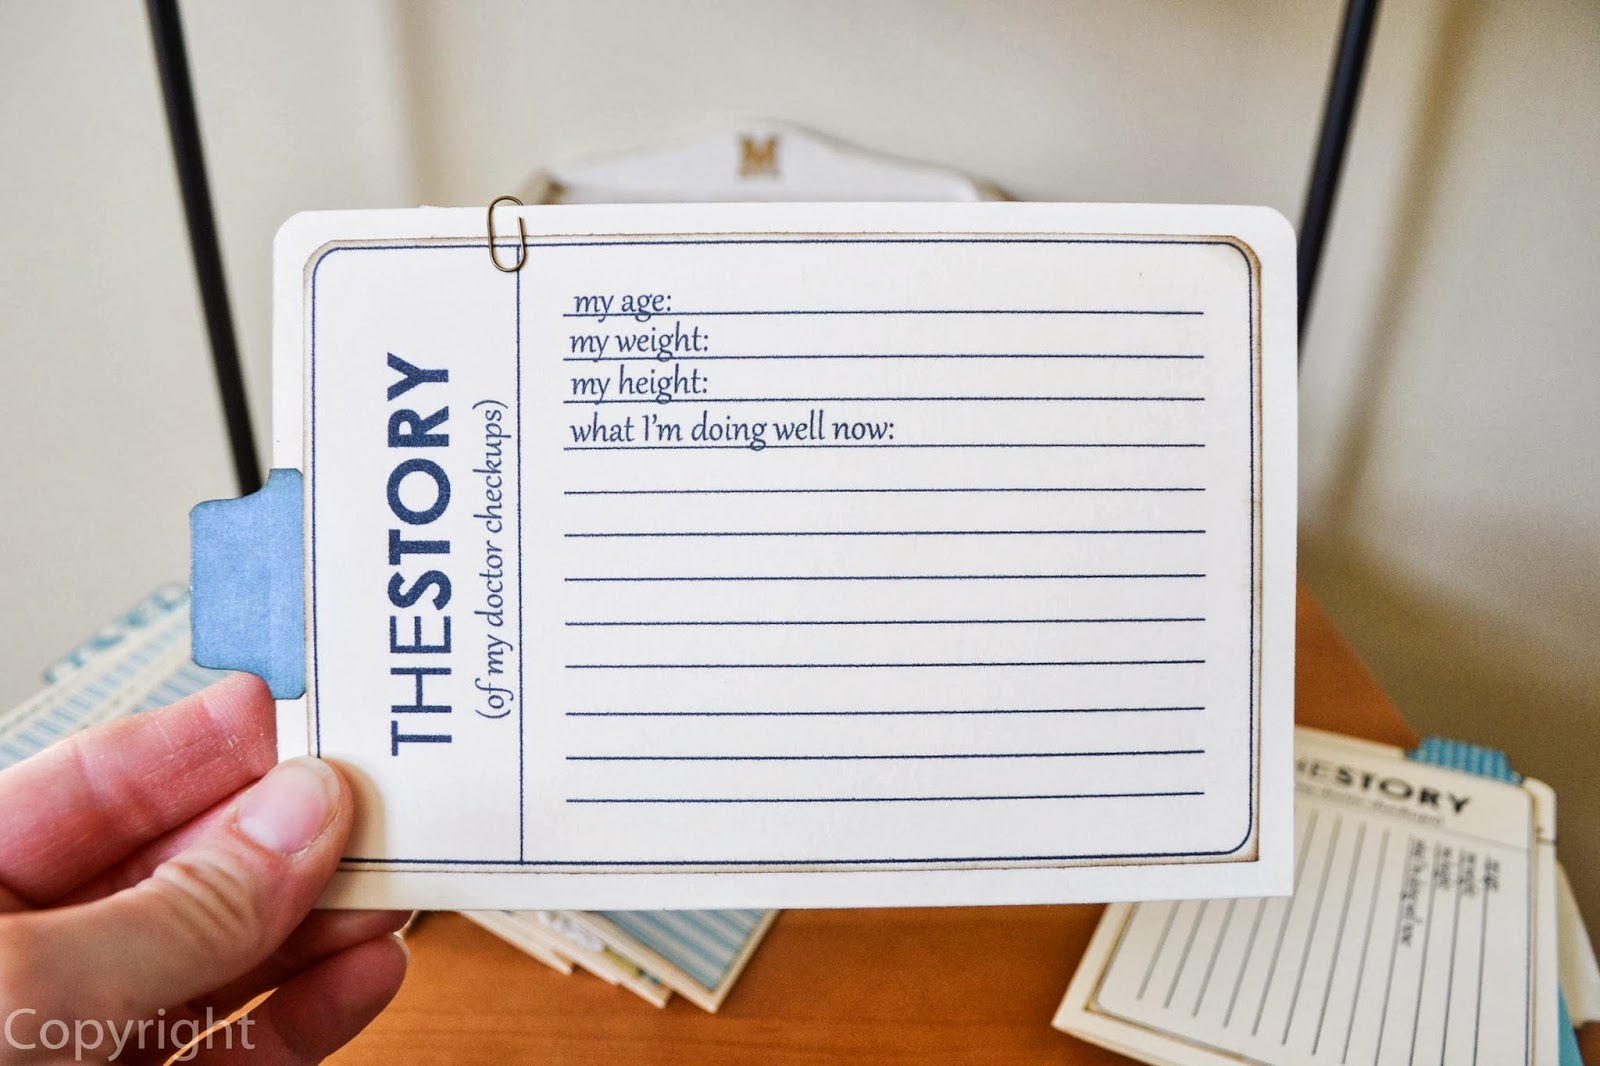 As for the backs of the files, I used this space for yet another opportunity for mom to get more of the story down. Most of the journal spots on the back are in relation to his physical well-being.
As a mom myself I know that the first 3 months are nothing but doctor's check-ups so I can only imagine what that means for this momma with a preemie. It's going to be super important to get down those important details.
Ali Edwards @ Designer Digitals. I did alter them just a bit in order to get the prompt in the way that I wanted and I was able to do that through Photoshop Elements. This 'hybrid' format where I mix tradition scrap booking with digital scrap booking is really kinda cool and if you're looking for a way into digital but don't know where to start, I suggest checking out Ali's site.
As a mom myself I know that the first 3 months are nothing but doctor's check-ups so I can only imagine what that means for this momma with a preemie. It's going to be super important to get down those important details.

Those are the kind of details that I think would be really cool to think back on in a couple of years or even when this baby boy becomes a young man, what his mom thought to write down on his behalf is apart of his story too.

For me when I begin a project like this I like to start with a plan in mind. Now that doesn't mean I sit down and draw out a blue-print of the entire process-I'm a bit too organic for that. But I do try to keep a very clear mental picture of what I want the end result to 'do'. I want to have my purpose clear before I even begin-is this going to be a 'showcase' type, an 'interactive' type, a 'documentation' type, or a 'display' type of memory keeping or is it going to be something else entirely.
 So lets take this project and break it down.
#1-I knew from the get-go this was for a baby boy - that right there gives me a ton of information (colors, embellishment do's and don'ts, patterns, and shapes).
#2-I also knew at the start, that this was solely for mom - being that the baby's father wasn't in his life as of yet - this effected how I typed out the journal spots.
#3-I also knew that I was going for something different in display but as for the main component something that had the softer lines and more of a traditional color theme.
What it doesn't mean is that I have to stick to any one paper line or any one product line, doesn't even mean that I have to know what it's going to 'look like' at it's completion, but what it gives me is a recipe to follow that will grant me the best outcome.
#1-I knew from the get-go this was for a baby boy - that right there gives me a ton of information (colors, embellishment do's and don'ts, patterns, and shapes).
#2-I also knew at the start, that this was solely for mom - being that the baby's father wasn't in his life as of yet - this effected how I typed out the journal spots.
#3-I also knew that I was going for something different in display but as for the main component something that had the softer lines and more of a traditional color theme.
So in my 'organic' recipe box I gather bits and pieces together that I think will work well.
 Normally the first thing to go in is the paper, both pattern paper and card stock - like this Staples card stock that I use. Then I decide what the base is going to be: wood, paper, metal, fabric, etc., and whether or not it's going to need to be treated (like the gesso with this wooden box from Hobby Lobby).
 Next comes the focal point(s), in this case the vintage images that I added to each side and the top. I usually have, by this point, also grabbed the fabric pieces that I think will compliment the whole-whether it be twine, ribbon, thread, canvas, etc. Then I go to my larger embellishment pieces - borders, die cuts, cut-outs, envelopes, pockets, etc., once they are collected I start in with all the fun little bits and pieces...like the mini paper clips.
The reason that I gather all of these pieces is so that once I do actually get started I don't have to stop. I know how my creativity works, once it starts and gets rolling I hate breaking it's rhythm so this just eliminates that stop-n-go right off the bat.
But I also keep in mind that just because I have it all out doesn't mean that I have to use all of it or for that matter any of it.
This is important...
because I have that clear mental vision of it's purpose, not it's looks, I can change up anything at anytime and not worry about whether or not it'll all 'go-together'.
The last part of this that I wanted to share are the 3 files that are different than the rest. As you can see in the photo above it's the first file, it's a bit smaller and it opens quite differently than the rest.


The two other slider files I included are:
*the miracle of life - a sonogram photo on the left and a new born photo on the right
and
*oh my how you've grown - a baby photo on the left and a one year photo on the right
I like comparison pictures side by side like this because it tends to give you a more accurate concept of how much someone has changed over the course of a year and that is certainly worth capturing.

Thanks again
just B
.jpg)
Comments