Arizona Mini Bind
Hello Hello
Sorry I'm late!
But better late than never right?
Here is my Arizona mini album I did back in 2012.
Sorry I'm late!
But better late than never right?
Here is my Arizona mini album I did back in 2012.

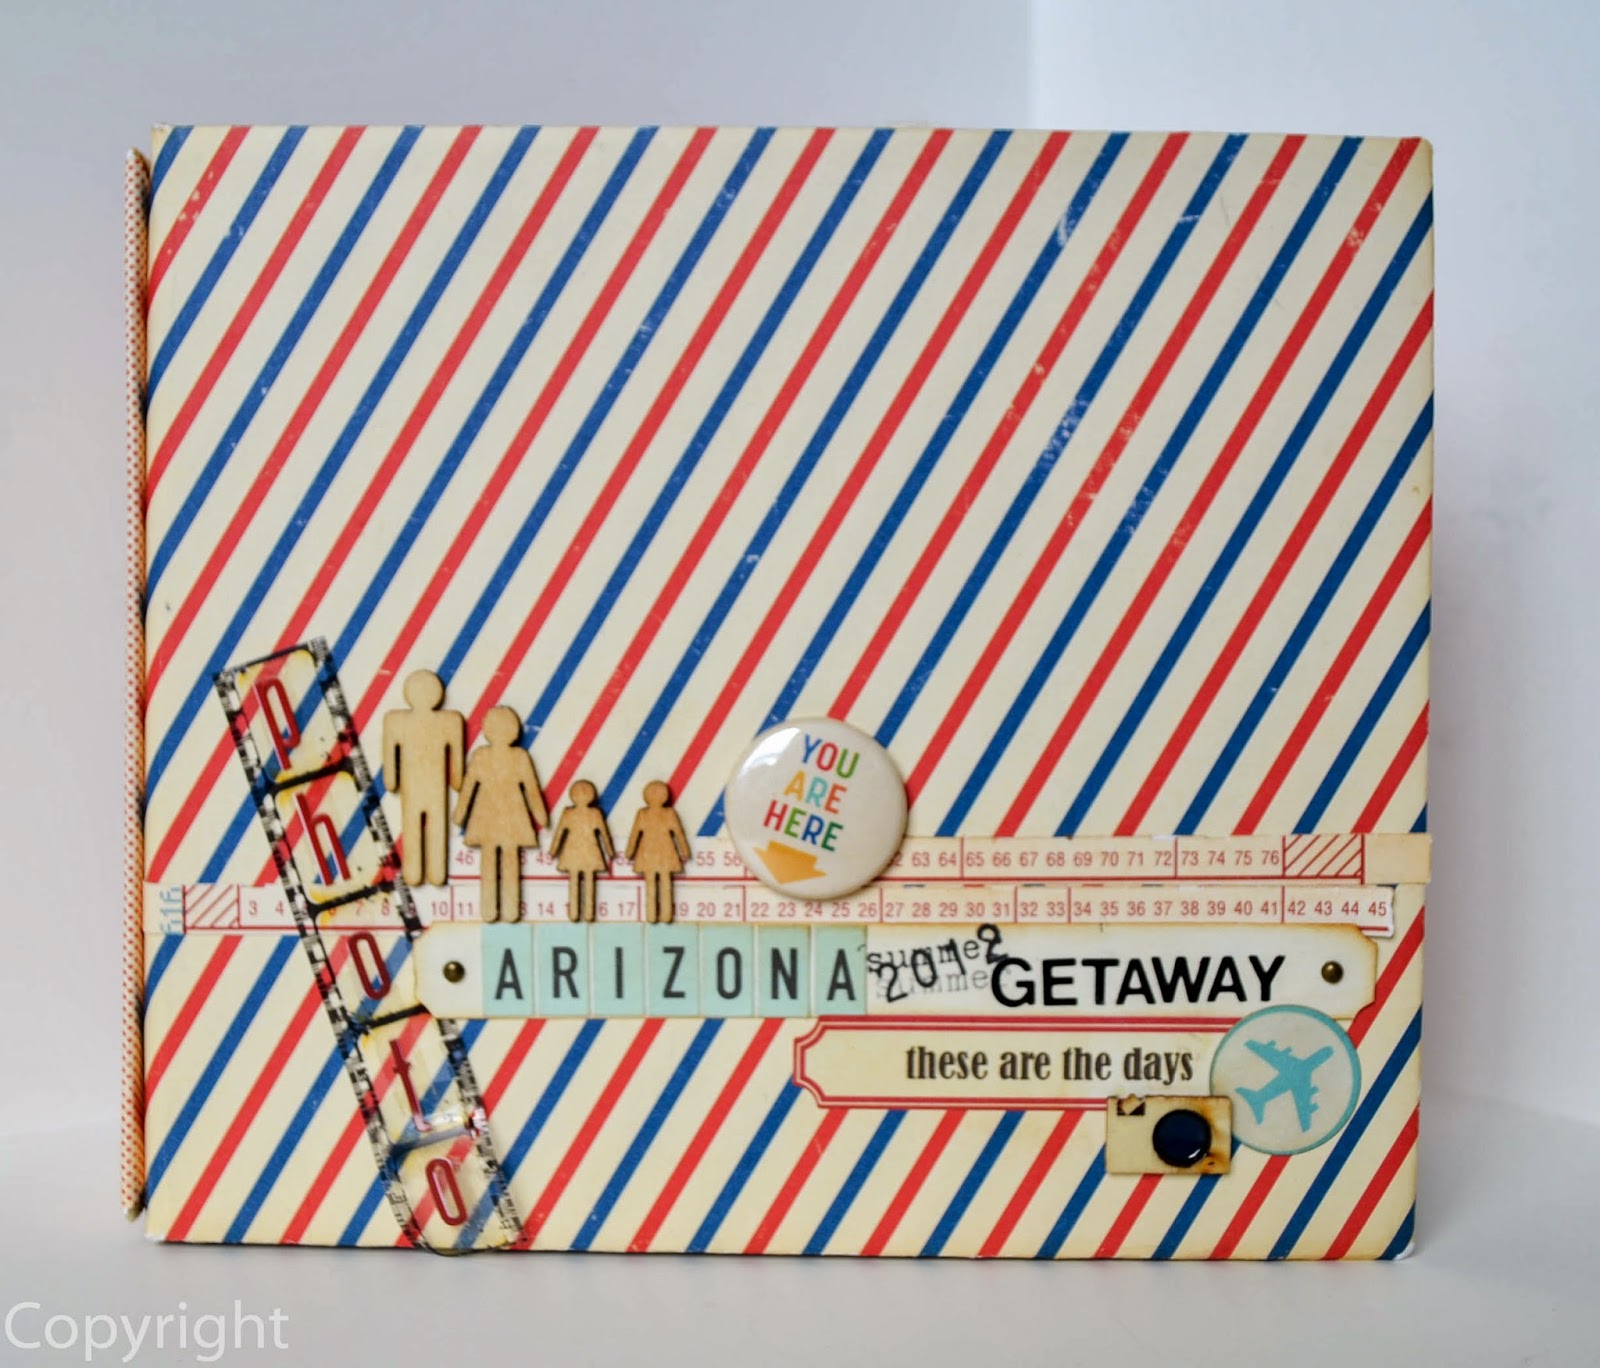
For the book it's self I used medium weight chipboard and covered that with October Afternoon's collection called Boarding Pass which I also used throughout the book on the pages along with their collection called Rocket Age. I do believe that both of these collections have been retired but you could certainly check on-line.

I think that October Afternoon is still probably at the top of my list for favorite paper lines, they have a vintage flare that I do love but with the bright, bold colors that sometimes I just need to have more of in my world, plus they do some wonderful 'old-school' paper embellishments that match too.

As for the binding of my book I used a 2-ring binder by the fabulous Tim Holtz and then punched all my pages to fit the rings. For the pages I cut a 12x12 piece down to 6x12 and then folded the 12" length in half so that it would be 6" square, therefore all my pages are 6x6 with my holes punched along the opposite side of the fold.

On the pages I did several different things; I have photos that I die-cut then used as a corner tuck, I have tags that I did most of my journaling on, I have ephemera pieces from the two OA collections that I added tidbits to, and then lots more die-cuts.

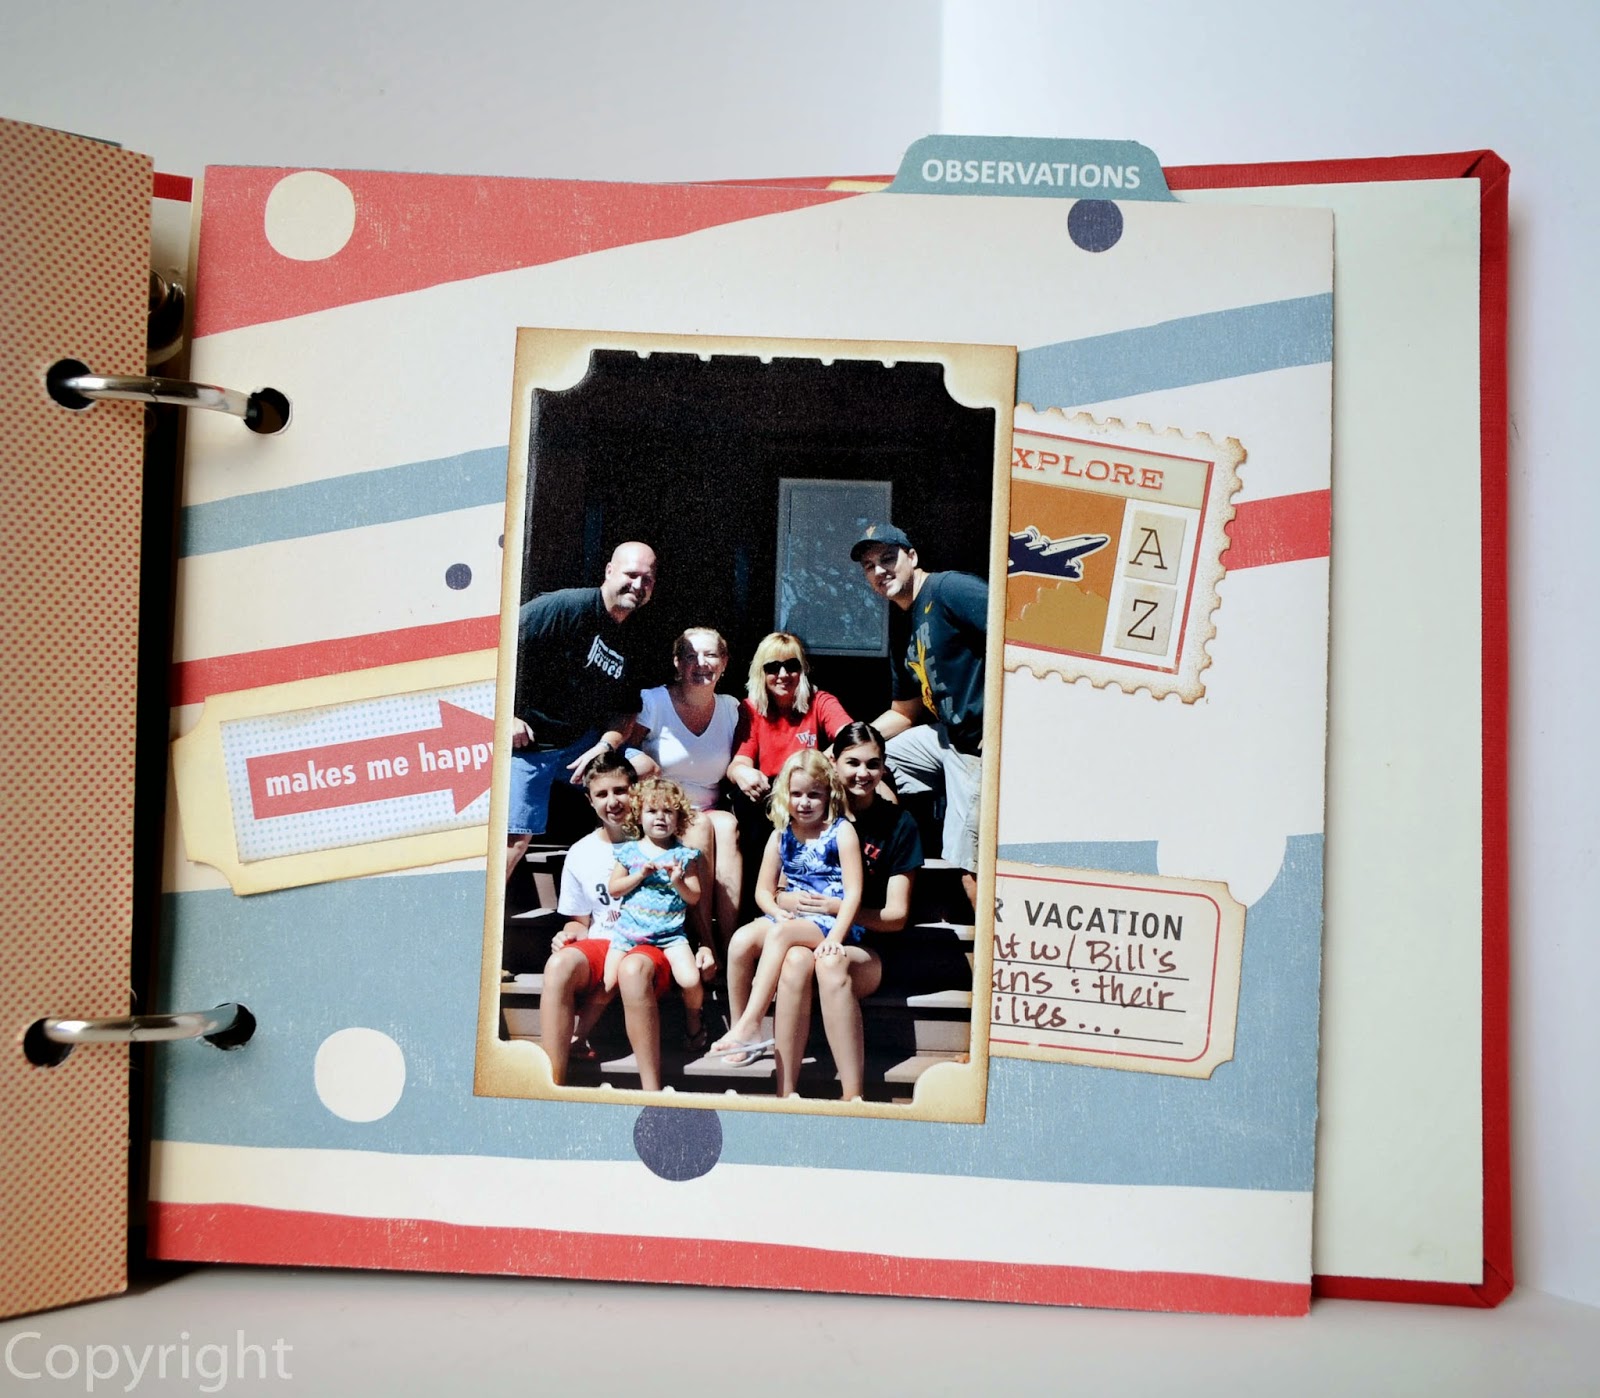
Since I did not make the pages themselves pockets in this mini - I used a lot of foam tape behind my larger photos, just around the edges, to make them pockets.

In the photo ^above^ you'll see that the 4 pieces that are laid out (1 die-cut photo, 1 mini Instax photo, a tag, and a 'postcard' ephemera piece) all tuck behind the
die-cut photo in the background. I wanted there to be lots of space for all the photos and I think was my best bet. I like that it makes this mini more interactive too.
die-cut photo in the background. I wanted there to be lots of space for all the photos and I think was my best bet. I like that it makes this mini more interactive too.

I included a couple of these library pockets too because they hold my tags perfectly.

Here's pic of my larger photo dubbing as a pocket.

Above again I have a die-cut photo dubbing as a corner/photo tuck.


On this particular page, I have 3 ephemera pieces just randomly sticking out around my photo, they actually do pull-out and have a bit of info on them...how's that for cute and interactive.

Another one with some pull-out pieces again.

So these next two pages in my book were a collage of 5 of my favorite photos of each daughter that I took throughout the week of our vacation. I numbered them off and then on the following page I used two tags (one for each girl) and wrote a little something about each photo and why it made it in my fav list.

Here's the collage page for my oldest daughter with each photo numbered in one corner.

And then here I have both of the tags explaining why I loved each of those 5 photos the best.

On the very last page of the book even though I have a ton of journaling throughout the book, I did add a typed out day-by-day account of our vacation just so that in the coming years I won't forget all the details. Plus it makes for a quick reference if I am looking through the book and want to know where something took place.

On the cover I added a couple of pieces from both of the paper collections that I mentioned earlier and for those of you wondering - (wishing I'd taken a photo of this) when I do use the binder rings from TH, I put my brads that hold the piece on with the finished side showing inside my book-does that make since? the back where the prongs are, are actually covered up with an extra spine piece that I cut a bit smaller than the spine it's self, still wrapped in the same line of pattern paper and then added over the top of my original spine on the outside of the book. Two reasons I do this: #1 - I like not having the 2 prongs showing on the inside (to me that looks tacky) and #2 it gives the outside of the book a more finished look which makes the whole piece look more professional.
So there you have it! I sure hope you like it and have gotten at least a little bit of inspiration going on. If you have any questions please feel free to leave me a comment, I'd love to hear from you. Until next time I just want to say, "Thank You" for sharing your time with me and hope that you have a fun-filled weekend of scrappin'.
just B
.jpg)
Comments