Fairy Graphics
Good Day Everyone!
Thought today that I'd share another Design Team Project. This mini I did about two months ago I guess and it's been the only project so far that I was able to totally pick & choose myself. Of course we all know that the purpose of a design team is to promote something so in this mini the idea was to use the chipboard flowers & buttons. So hopefully you'll like how I incorporated them.

I've had this lingering idea for awhile to use with this fabulous Graphic 45 paper collection, so that immediately came to mind to use, as well as Tim Holtz's tissue tape, so this is what I made.

I did the covers from raw chipboard and covered the front side with a coat of metallic gold paint then used one of the fairy postcards from the collection; on the inside cover I used a textured bazzill cardstock in an olive color to match the paper collection, then added another postage piece from the collection.

On the first page I used one of the patterned papers from the collection, cut it length wise to size, folded it in half, used my circle punch on the top, then added some tissue tape around the bottom edge to make it a pocket page. On the inside of the pocket, I added a little booklet that I made from a cream colored bazzill cardstock and some of the paper embellishments from the paper collection. For the pull tab I used a couple of the chipboard buttons on each side of the booklet.


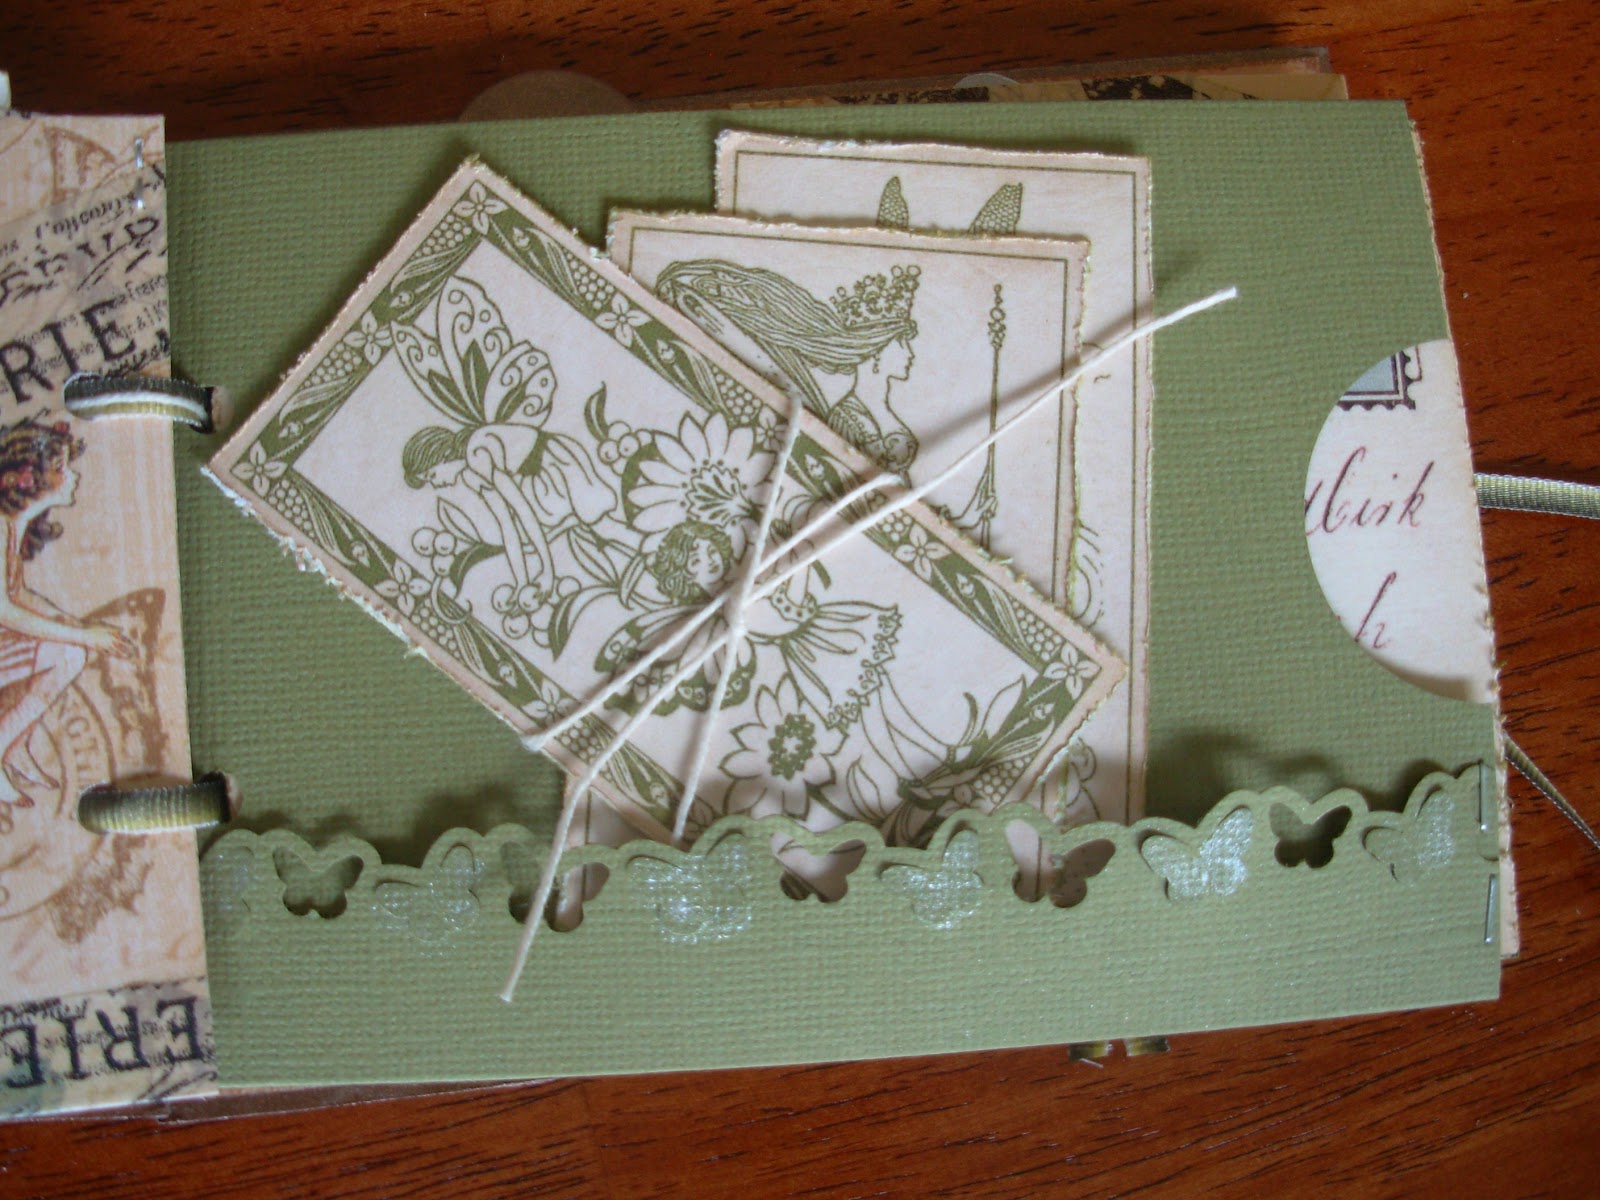
For the second page, I used a salmon colored bazzill cardstock, cut it to the length I needed, then at the bottom of it I used my butterfly border punch, folded it up to create a small slip pocket, then folded up the rest of the paper and made it into another pocket page, took my circle punch to the side, and then made another pull out booklet.

Here is a closer look @ the two pages

For the small slip pocket, I used a couple of the paper embellishments from the collection and just tucked them inside, the pull out booklet comes out from the right side

This is the second booklet, I used the flower chipboard as the pull, I did cover the front of the pages with patterned paper, and then did the back pages with the same cream colored bazzill cardstock. On the front of the booklet I did add one of the paper embellishments from the collection.


Here are the next pages, again I used the patterned paper cut to size, used a circle punch on the top and made it another pocket page

Here is a close up of the one side of the page

Here is a close up of the pocket page, with some of the paper pieces from the collection


Here are the next couple of pages

Here is a close up of the backside of the pocket page with some of the paper embellishments added
And another slip pocket, pocket page. Again in the slip pocket I added some of the paper pieces from the collection, then from the right side there are a couple of pull outs


Here is another look at a couple more pages

The close up of the right side, the backside of the pocket page

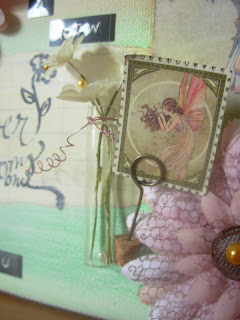
And another pocket page with a pull out from the top, a couple of paper embellishments added to it


And finally the last page the backside of the pocket page with a few finishing touches with the paper pieces added. I tied the book together using a strip of two-toned ribbon, the same one that I used throughout the book, I also used it to make the closure on the front of the book.

Okay well I hope that you like my book that I did, I'm excited about it and hope that you've been inspired to try something new. For my next post I will be sharing some of the layouts that I have done recently for The Scrapbook Page, be sure to stop by and check them out, until then thanks again for taking a peek.
just B....inspired!
.jpg)
Comments