The Second Addition

We have another addition of the baby album, except this one didn't happen to be for twins, instead this one is for a special little girl that is due in October. A friend + co-worker asked me a few weeks back if I could make her a baby album similar to the Twins Album {here} that I did earlier this summer and of course I said, "Yes! I can do that."
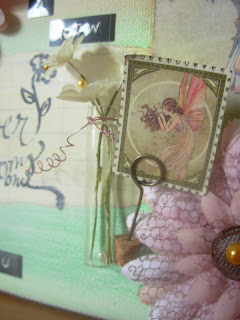
So here is a close up of the second addition. For this album I found a great collection of Tim Holtz's paperie {here}, which seemed perfect for this album, not too pink and not too babyish. In fact I decided to go with a more vintage look overall and who better to get inspired by than Tim, after all he is the guru of 'vintage'.

Although this photo is a bit blurry, I still like the angle of it. I have to say that I am really proud of this album! Technically this is the first album that 'I' have ever sold. Now I have made another album for money but for that particular one, I used an SEI Album Kit {here}, so in my mind it didn't really count as 'my' work {basically I was paid to put it all together}; this book is the first one completely designed by me so therefore I have to share it.

Being my first 'sold' project, I wanted it to be extra special and perfect, so I made myself stick to an idea and go with it. It most certainly helped having made the other baby album {as a gift} earlier because I knew what to expect and how to go about setting up all the steps.

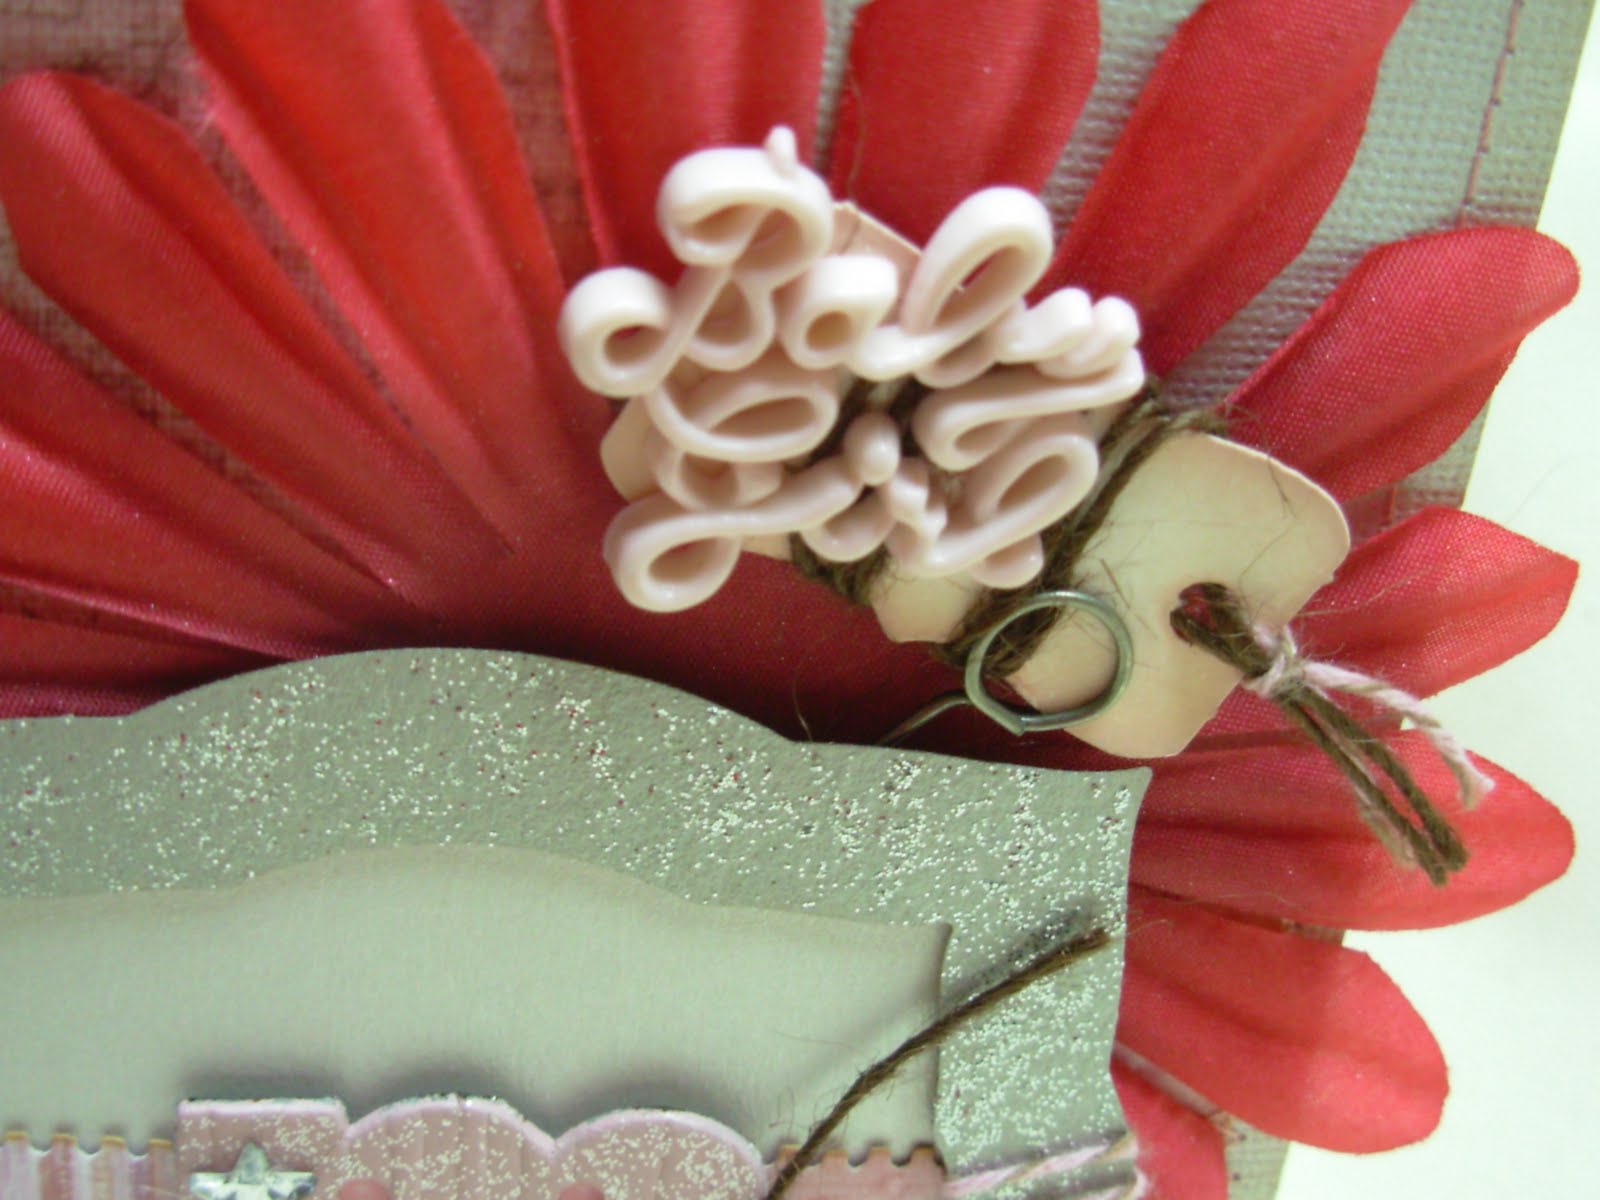
Over all I wanted the design to be compact, to hold 4x6 photos, to capture & collect, and then to decorate. So I started with 4 3/4" x 6" chipboard covers, covered them with the Tim Holtz's papers {here}, then added in some journaling cards that I typed up on my HP desktop, then I also added in 12 Zutter 4x6 Movable Pre-Punched Page Protectors {here}. That was my base, my core, then from there it was all details; the grunge board letter M on the cover that I painted over with Silver Stickles {here}, the baby doll dress that I found in package of Dress-It-Up buttons {here}, the over-sized flower, the 'baby girl' button {here}, the Memo Pin {here} that has the threaded tag, all of these little bitty elements adds its own very significant flare to the whole giving it it's "WOW"

On the back I decided I needed to sign my work, so before I covered the back with the Bazzill paper {here}, I measured it all out, then cut it to fit, then did the sewing all the way around it using my Singer. I very much on purpose made sure that the tag {same one I used on the front cover} that had my signature on it was sewn into the paper as well. For me it made it 'offical', hopefully for them it made it 'special'.

As you can see from the photos above, I pretty much used the same journaling prompts that I used in the other baby album, with a few excepts here & there. There are a ton of things to remember about your new born especially if this is baby no. 2 or 3, so my hope is that this book will not only make it easier to keep moments & memories safe {i.e. the smaller size} but that also it will be fun to share with family & friends.


Another classic that I just had to include is the 'Locket of Hair', yea it's an oldie......but man is it a good one; along with the 1st tooth {although I didn't put a place in here for that}.

Another one of my favorites is, things that are popular right now; you might think that you'll remember {and you might} but chances are, over time, you'll forget so what a great thing to include.

Now this journaling prompt is on every 2 page spread, meaning that every month the parents will have somewhere to jot down all the cool things that little one is doing that month. It is a great way to keep track of all those small stepping stones: 1st smile, 1st word, when they started crawling, and standing up, then 1st steps, and 1st laugh, etc.

On the very last page I used a vellum envelop that could be home to receipts, or the hospital ID bands, or the announcement tag {that one they put on the crib to say who the baby is and what the gender is} all of these pieces put together help tell the story in a more comprehensive way and besides that....you know ya wanna keep 'em! : p

I also made an insert for that envelop in case the parents needed some extra room for writing; it works as a catch all for those little tidbits that trickle down from someone else {aunts, uncles, siblings, cousins, etc.}.

Once I was done with the journaling prompts I went back to the computer and printed off 4x6 inserts to slide into the photo protectors. On the front side of the insert I printed, "1st Month", "2nd Month", then "3rd Month" - you get the idea. I did this for all 12 months; then I went through again and on the backs of the first 3 months, I typed up some 'photo ideas' to get them started on what kind of photos to take to get their minds thinking about what they might want to remember 20 years from now.

Here's a look into the opening of the album. I created a chipboard badge that says, 'Completely LOVED' - that about sums it up for any mom or dad! : )
Well this is all I have for you today, sure hope you enjoyed my brand new baby album, it's one of a kind no doubt. My goal is to be back in another week or so to share some layouts with you, so plan to swing back by soon and give me another peek, thanks!
just B!!!!
.jpg)
Comments